Graphical Desktop on Ubuntu Server 24.04 with VNC and RDP
14 Aug 2025, 21:42:25
Ubuntu Server 24.04 does not have a default graphical interface. However, the popularity of Ubuntu OS among ordinary users makes this system an excellent alternative to the Windows Server remote desktop. In this article, we will install the desktop environment on the server version of Ubuntu 24.04 OS, which can be selected on our VPS, and configure a connection to the remote desktop using two of the most popular methods - VNC and RDP.We will install:
- Xfce - a lightweight desktop environment designed to be resource efficient. Great for VPS;
- TigerVNC - open-source VNC server, a fork of the previously popular TightVNC;
- xRDP - open-source RDP server. Allows you to connect to the server via the RDP protocol, including via the built-in Windows "Remote Desktop Connection".
Preparing for Installation
Connect to the server via SSH as root.Update the package list and install updates:
apt update && apt upgrade -yConnecting to a remote desktop via the root user is a bad idea. Create a new user (skip this step if the user already exists):adduser user01- user01 - username
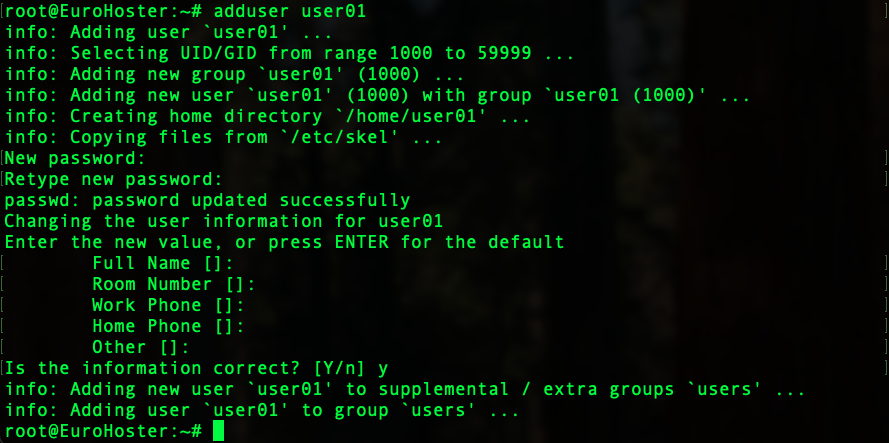
Add the user to the sudo group to be able to use the command of the same name:
usermod -aG sudo user01- -a - add to group without replacing current groups;
- -G sudo - specify sudo group;
- user01 - username.

Enable lingering so that user services start after reboot without logging in:
loginctl enable-linger user01We launch the user manager:systemctl start user@$(id -u user01)- user01 - username
Installing Xfce
Install the necessary packages: the Xfce desktop environment and many other packages. Don't be alarmed by their number, this is normal:apt install -y xfce4 xfce4-goodies dbus-x11 x11-xserver-utils fonts-dejavu-core fonts-liberation2 curl git htop unzip xarchiver- xfce4-goodies - additional Xfce software;
- dbus-x11 - software for exchanging messages between different applications;
- x11-xserver-utils - a set of utilities for working with the Linux graphical subsystem;
- fonts-* - a set of fonts for normal display in applications;
- Other applications we may need and many dependencies.
Installing TigerVNC
Install the VNC server itself:apt install -y tigervnc-standalone-serverVNC Configuration for Running Xfce
We exit the root user and connect to the server via SSH under our new user (in the example, user01). Further, all commands will be executed on its behalf.Create a directory with the VNC configuration and set the permissions:
mkdir ~/.vnc

chmod 700 ~/.vnc
Create a VNC password:vncpasswdEnter the password, confirm it and refuse to create an additional password for view-only mode:
Create a launch file xstartup:
nano ~/.vnc/xstartupWith contents:#!/bin/sh
unset SESSION_MANAGER
unset DBUS_SESSION_BUS_ADDRESS
export XDG_SESSION_TYPE=x11
export DESKTOP_SESSION=xfce
export XDG_CURRENT_DESKTOP=XFCE
exec startxfce4Save the file with the key combination Ctrl+O and close with Ctrl+X.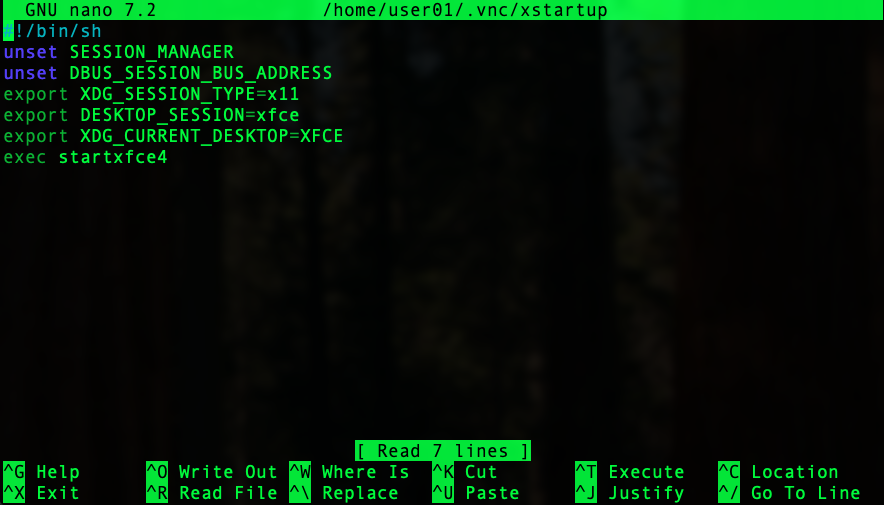
The important step is to make this file executable:
chmod +x ~/.vnc/xstartupLet's create a general VNC configuration:nano ~/.vnc/configContent:geometry=1920x1080
localhost
alwaysshared
dpi=96- geometry - virtual desktop resolution;
- localhost - listen only to the local address. Since VNC does not use traffic encryption, for secure access we will use the SSH tunnel that we will create later;
- alwaysshared - allows multiple users to connect to one desktop at the same time;
- dpi - the number of pixels per inch of screen. 96 is the standard value for most systems.
Autostart VNC Server on Behalf of User
Create a systemd unit in the user environment. Create a directory:mkdir -p ~/.config/systemd/userCreate a unit file:nano ~/.config/systemd/user/vncserver@.serviceWith contents:[Unit]
Description=TigerVNC server for display :%i (user)
After=network.target
[Service]
Type=simple
ExecStart=/usr/bin/vncserver -fg :%i
ExecStop=/usr/bin/vncserver -kill :%i
Restart=on-failure
[Install]
WantedBy=default.target- :%i - virtual display number. For example, to connect to display number :1, port 5901 is used.
systemctl --user daemon-reload

systemctl --user enable --now vncserver@1.service
Check that the VNC server is listening to the local address and the standard port 5901 for the first display:
ss -tnlp | grep 5901We get:
Secure Connection to VNC Server via SSH Tunnel
The SSH protocol uses encryption to protect transmitted data. This is why it is common to use an SSH tunnel to establish a VNC connection. This method also allows you to keep the VNC server ports closed to the outside world. By default, only port 22 (SSH) should be open.To create an SSH tunnel on your computer, you need to launch a terminal (cmd or PowerShell in case of Windows) and run the command:
ssh -L 5901:localhost:5901 user01@IP_address- user01 - username created earlier;
- IP_address - IP address of your server.
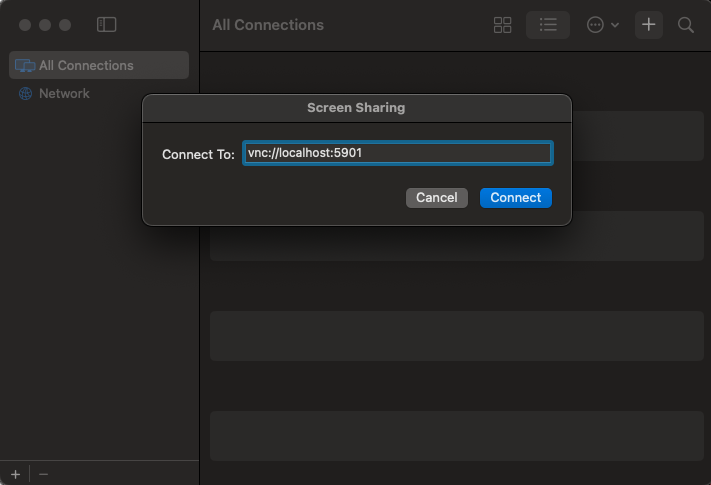
Now you can connect to the VNC server using the address localhost:5901 and the password specified earlier in vncpasswd using any VNC client (TigerVNC Viewer, RealVNC Viewer, Remmina, Screen Sharing MacOS):
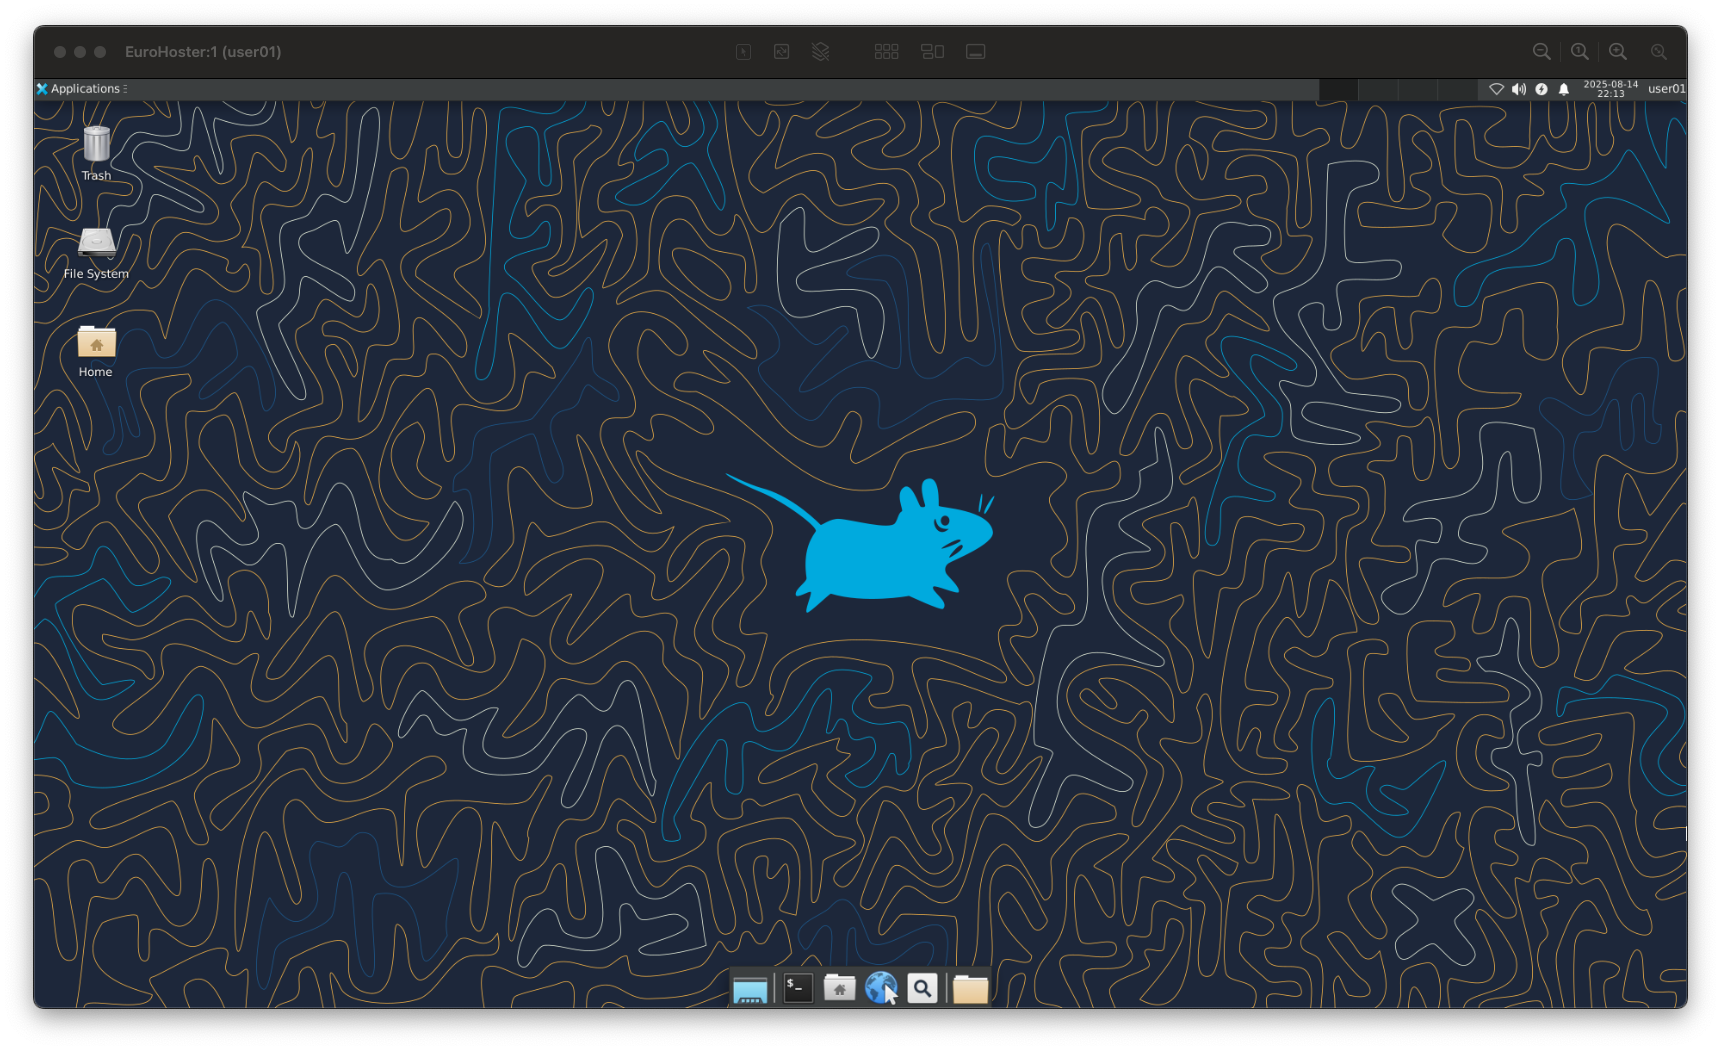
Our desktop:
Useful Commands for Managing VNC
We have successfully installed Xfce, configured a secure VNC connection to the remote desktop. All that remains is to consider the issue of managing our VNC server.Thanks to our configuration, the VNC server unit will automatically start after the system starts. To stop it, log in as the VNC user and use the command:
systemctl --user stop vncserver@1.serviceCommand to run:systemctl --user start vncserver@1.serviceCommand to restart VNC server:systemctl --user restart vncserver@1.serviceTo view active VNC sessions:vncserver -list
We see that in the example one virtual display is running on port 5901.
Installing RDP (xRDP)
The easiest way to connect to a remote desktop is to use RDP (Remote Desktop Protocol).RDP server installation command:
apt install xrdp -yEnabling automatic launch of the RDP server at system startup:systemctl enable xrdpLaunching RDP server:systemctl start xrdp
Next, you need to go to the previously created user (in the example, user01):
su - user01Bind Xfce startup to xRDP session startup:echo "startxfce4" > ~/.xsessionThen reboot xRDP:
sudo systemctl restart xrdp
After a couple of simple commands, we can successfully connect to the server via the RDP protocol, which supports data encryption out of the box.
In Windows OS, we can use the built-in utility "Connect to Remote Desktop".
In Linux kernel-based OS: Remmina.
In MacOS: Microsoft Remote Desktop
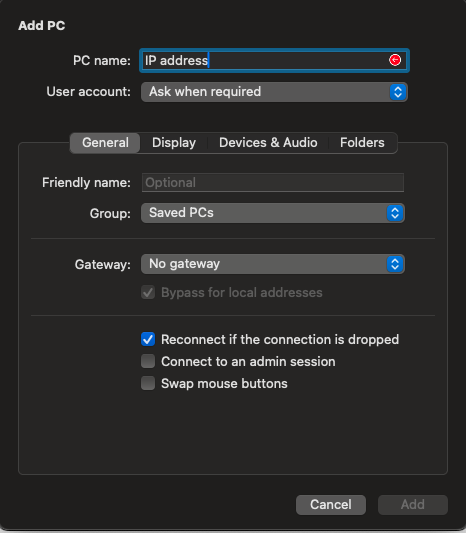
Example of connection in Microsoft Remote Desktop:
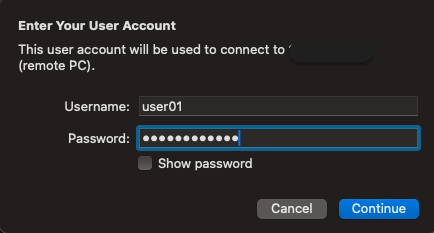
The user password was set at the user creation stage:
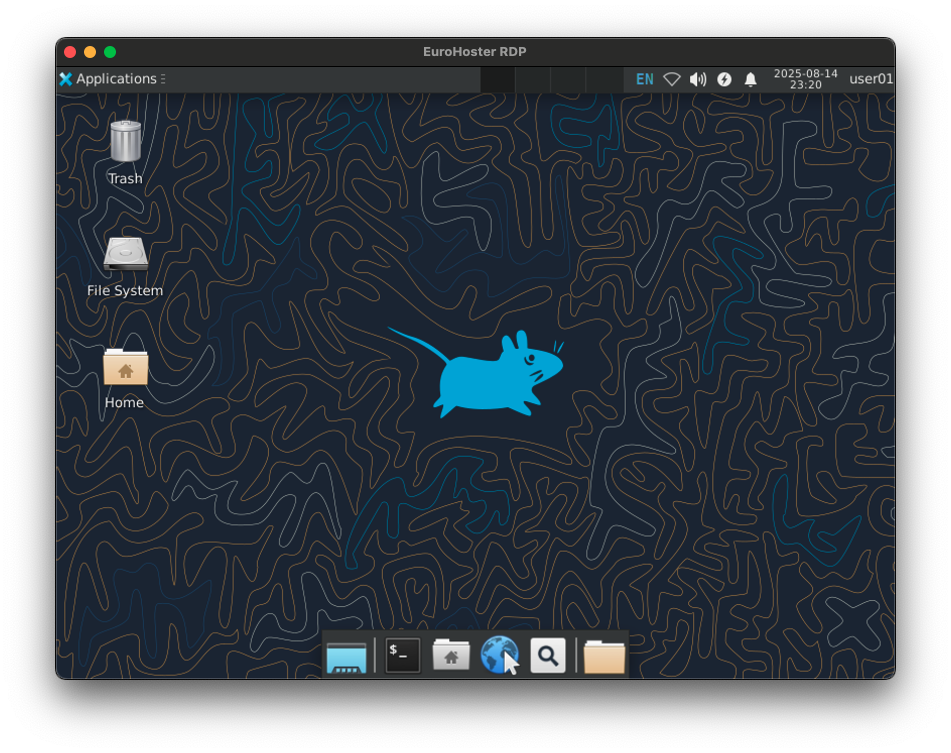
We successfully connect to the remote desktop via RDP:
We have successfully installed the Xfce desktop environment and configured a secure connection to it via VNC and RDP. Of course, you can choose one or the other, but it is quite possible to install both options on one server. After following the instructions discussed, your server is ready for full use of the graphical interface.