Installing and using Docker Compose on Ubuntu 24.04
03 Mar 2025, 14:26:57
While actively using Docker in their projects, many developers have faced the problem of creating and managing multiple containers. This is especially acute when the entire project infrastructure needs to be migrated, scaled and upgraded.A tool for easy management of multi-container applications - Docker Compose - comes to our rescue.
What is Docker Compose doing?
- Gives the ability to describe the entire application infrastructure in a single file, docker-compose.yml;
- Manages all containers in the project at once, describing the rules and how containers relate to each other;
- Simplifies container deployment;
- Allows all containers to be automatically recreated after changes are made to the project.
Installing Docker Compose
As of July 2023, Docker Compose V1 using the docker-compose command is no longer supported by the developer. Updates are no longer released. A second version of the program has taken its place.In this article we will use the current, at the time of writing, version of Docker Compose V2, despite the fact that the previous flags and arguments are preserved, the command itself should look as follows:
docker composeWe run all commands in these instructions as root user.In this article, we will look at installing Docker Compose from the official Docker repository, including adding this repository to Ubuntu 24.04.
- Update the list of available packages:
apt update - Install the related packages we need:
apt install ca-certificates curl apt-transport-https software-properties-common - Add the GPG key of the official Docker repository:
install -m 0755 -d /etc/apt/keyrings

curl -fsSL https://download.docker.com/linux/ubuntu/gpg -o /etc/apt/keyrings/docker.asc

chmod a+r /etc/apt/keyrings/docker.asc - Add the repository itself to the system:
echo \

  "deb [arch=$(dpkg --print-architecture) signed-by=/etc/apt/keyrings/docker.asc] https://download.docker.com/linux/ubuntu \

  $(. /etc/os-release && echo "${UBUNTU_CODENAME:-$VERSION_CODENAME}") stable" | \

tee /etc/apt/sources.list.d/docker.list > /dev/null - Again update the package list and install the docker-compose-plugin package from our new Docker repository:
apt update

apt install docker-compose-plugin - Let's make sure that the new version of Docker Compose is installed. At the moment of writing this article it is version 2.33.1:
docker composer version
Example of using Docker Compose
For this example, let's create a simple Golang application that outputs text to a browser and proxy traffic to it through the Nginx web server.Create an application
- Create project and application directory, go to the application directory:
mkdir -p ~/compose-example/app && cd ~/compose-example/app - Create the main.go file:
nano main.go - Writing the simplest web server in Go:
package main


import (

"fmt"

"net/http"

)


func main() {

http.HandleFunc("/", func(w http.ResponseWriter, r *http.Request) {

fmt.Fprintln(w, "Привет, мир!")

})  fmt.Println("Сервер запущен на порту 8080...")

http.ListenAndServe(":8080", nil)

} - Create a Dockerfile for our application:
nano Dockerfile - Fill it out:
# Using the official Golang image

FROM golang:1.21


# Create a working directory

WORKDIR /app


# Copy project files

COPY . .


# Building the application

RUN go mod init app && go mod tidy && go build -o app


# Launch the application

CMD ["./app"] - The application is ready. Let's create a minimal nginx configuration to proxy traffic to our application. Go to the project directory and create the nginx.conf file:
cd ~/compose-example && nano nginx.confLet's write the configuration itself:
events {

    use          epoll;

    worker_connections  128;

}


http {

    server {

        listen 80;

        location / {

            proxy_pass http://compose-example-app:8080;

        }

    }

}
Create the file docker-compose.yml
In the project directory we went to earlier, create a file:nano docker-compose.ymlContents:services:
app:
build: ./app
container_name: compose-example-app
restart: always
nginx:
image: nginx:alpine
container_name: nginx_proxy
restart: always
ports:
- "80:80"
volumes:
- ./nginx.conf:/etc/nginx/nginx.conf:ro
depends_on:
- appIn the services block we describe the containers (services) of the project, in our case there are two of them: app and nginx.
For the app container, we specified:
- build: ./app - the container will be built from the Dockerfile in the ./app directory we created earlier;
- container_name - container name. This is what we specified in the nginx.conf file as the proxy address. When using Docker Compose, by default all containers (services) are on the same virtual network and access each other by container name;
- restart - automatic launching of the container when it falls.
In the case of the nginx container (service) we use a ready-made image, which is indicated by the parameter image: nginx:alpine. We also point the 80th port of our server to the 80th port of the container. Note that we have not forwarded any ports for the app service, despite the fact that our application itself locally uses port 8080. volumes allows us to mount a directory, in our case the nginx.conf file, inside the container in read-only (:ro) mode. depends_on will defer starting the nginx service until the app service is started.
Starting Docker Compose
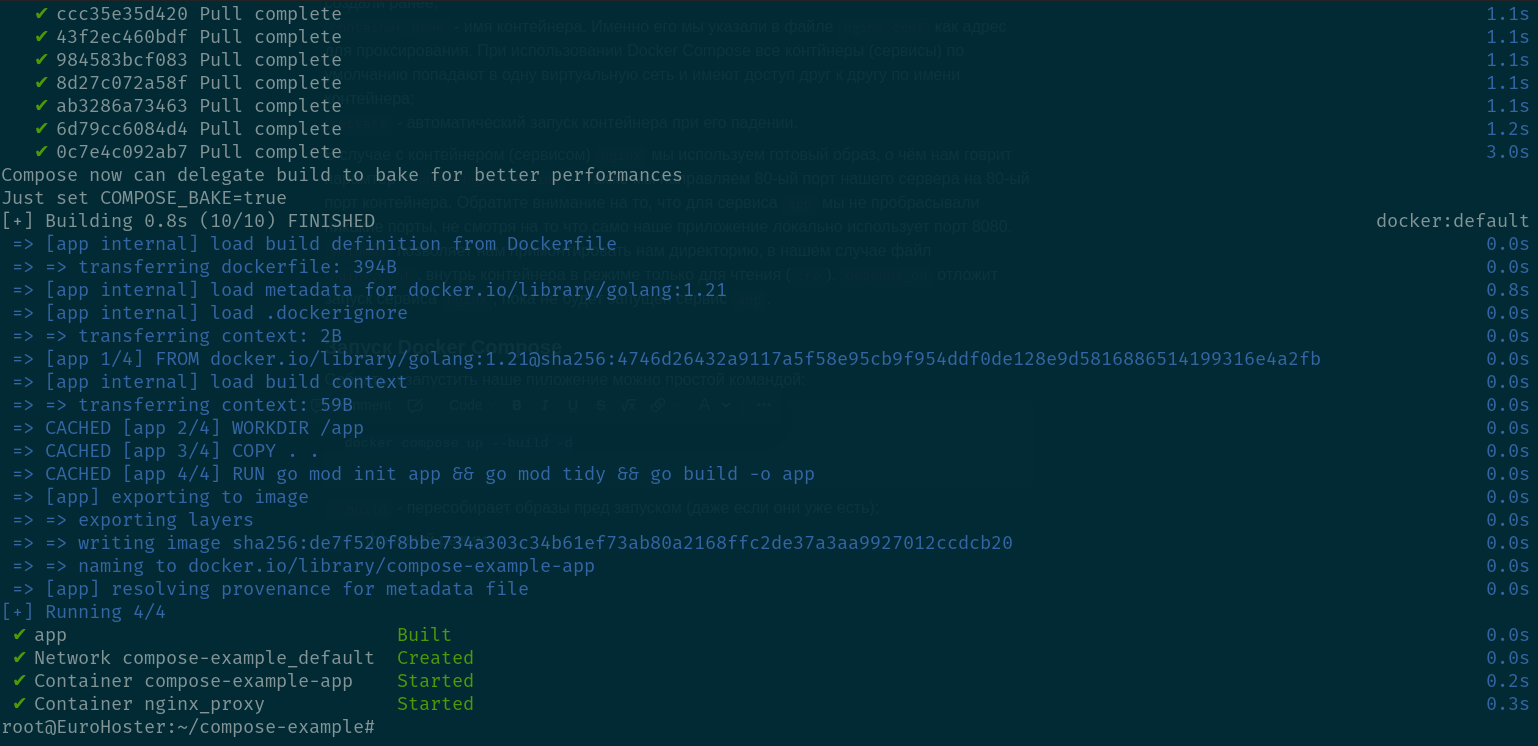
It is a simple command to build and run our application:docker compose up --build -d- --build - rebuilds images before launching (even if they already exist);
- -d - background mode.
The first time you run Docker Compose, it will download and build the necessary images, which may take a short time. As a result, you will get:
You can check the work of our application simply by going to http://localhost or by your server IP:

Useful Docker Compose commands
Here are a few of the basic commands you need to get the job done:docker compose down
Deletes project containers. Images are not deleted.
docker compose stopStops the containers.docker compose startStarts them up after they stop.
docker compose pauseSuspends containers without changing their state.docker compose unpauseResume work.
docker compose logsOutput logs of project containers.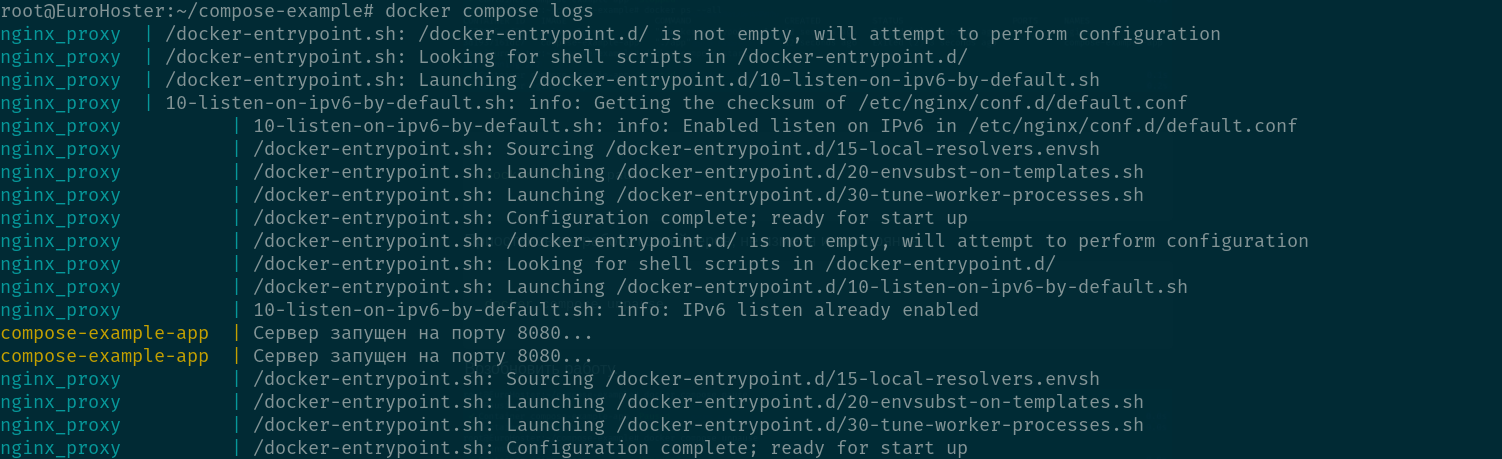
In this article we have considered the simplest option of installing Docker Compose from the official Docker repository, as well as its operation on the example of a simple application. For more information, we recommend to refer to the official documentation of the program.